Make a grid of cells (advanced)
This is a versatile way of making a grid of cells which you will then add text and symbols to. For a simpler way of making a grid, use "Quick Grid".
1. Create one cell that occupies the space that you want your final grid to take up:
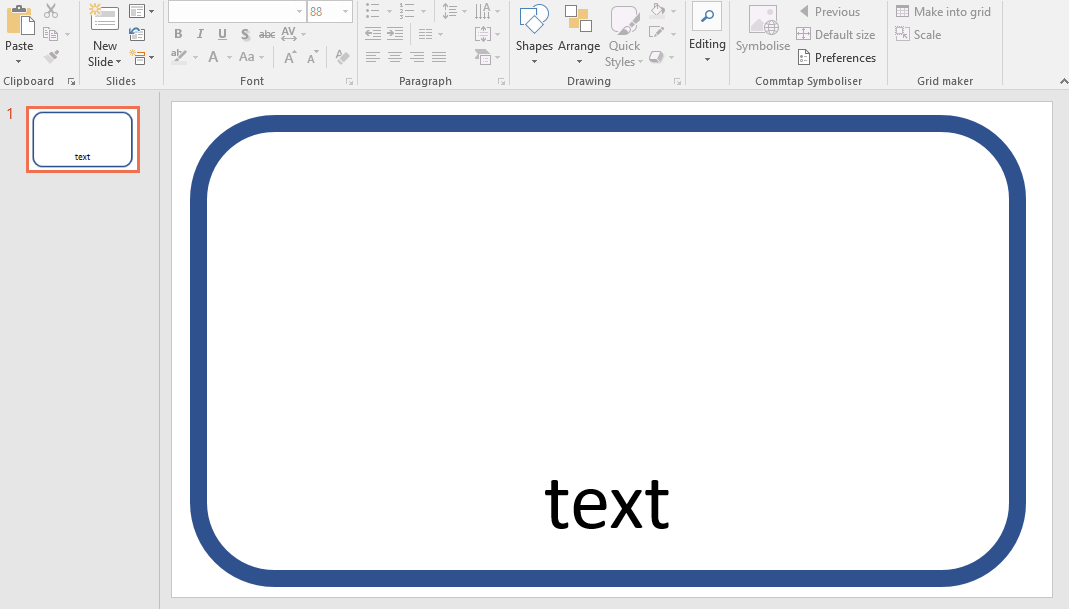
- Start with a blank slide (Home → New Slide → Blank).
- Insert a shape: Home → Shapes → choose a rounded rectangle for example.
- Use the mouse to draw the shape onto the slide.
- Right click the shape → Format Shape.
- Adjust the fill and line.
- Insert a text box: Home → Shapes → choose text box.
- Insert this as above.
- Type something in the box - for example "text" (it needs to have something in it otherwise the text box will disappear).
- Select the text box and adjust the font size.
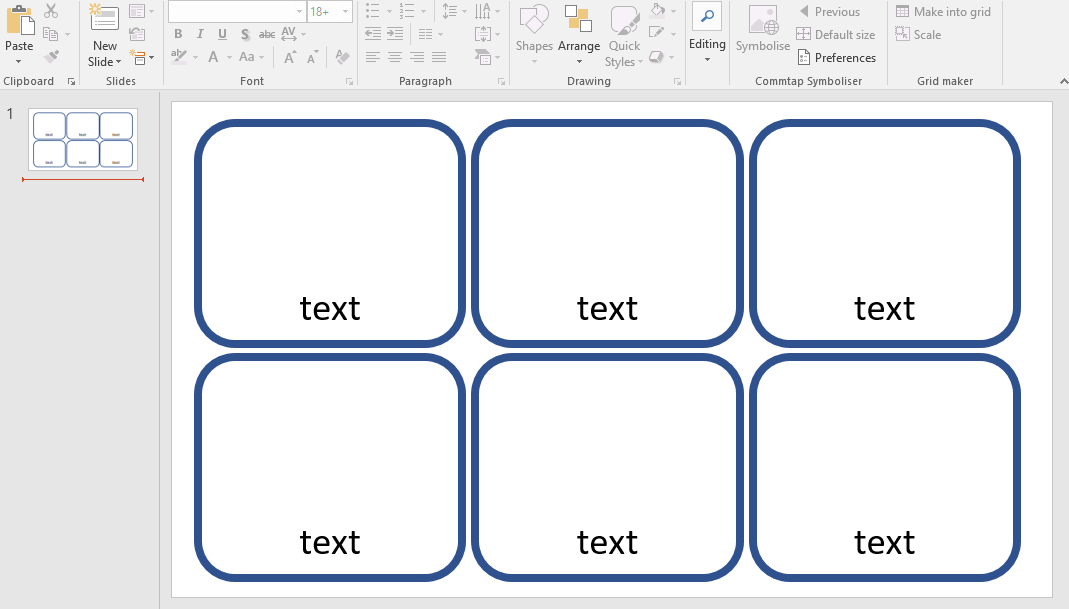
2. Make a grid
Now, select both of these, and choose Home → Make into grid (in the "Grids" group). Enter the number of cells across and down that you want. You should end up with something like this:
3. Symbolise
You can now change the text in each cell and symbolise them:

When you insert the first picture, you might want to resize it. Once you have done that you can select "Default size" in the SymbolGo group - so that when you symbolise the other cells, the images that appear are the right size.